Smart Doll Knit Cardigan
Smart Doll ·I wanted a cardigan to go with the free Smart Doll School Uniform pattern, so I made this very easy top down pattern. I knit with 2.75mm and 2.25mm (2US, 0US) circular needles, but straight needles could also be used. The sleeves I knit in the round, but they could be knit flat and then sewn together. It is meant for size 1, fingering weight yarn. So far I have made it out of Woolike yarn form Michaels and Palette from Knit Picks.
It can fit both girls and boys, but it’s a bit tight on the macho boy arms.
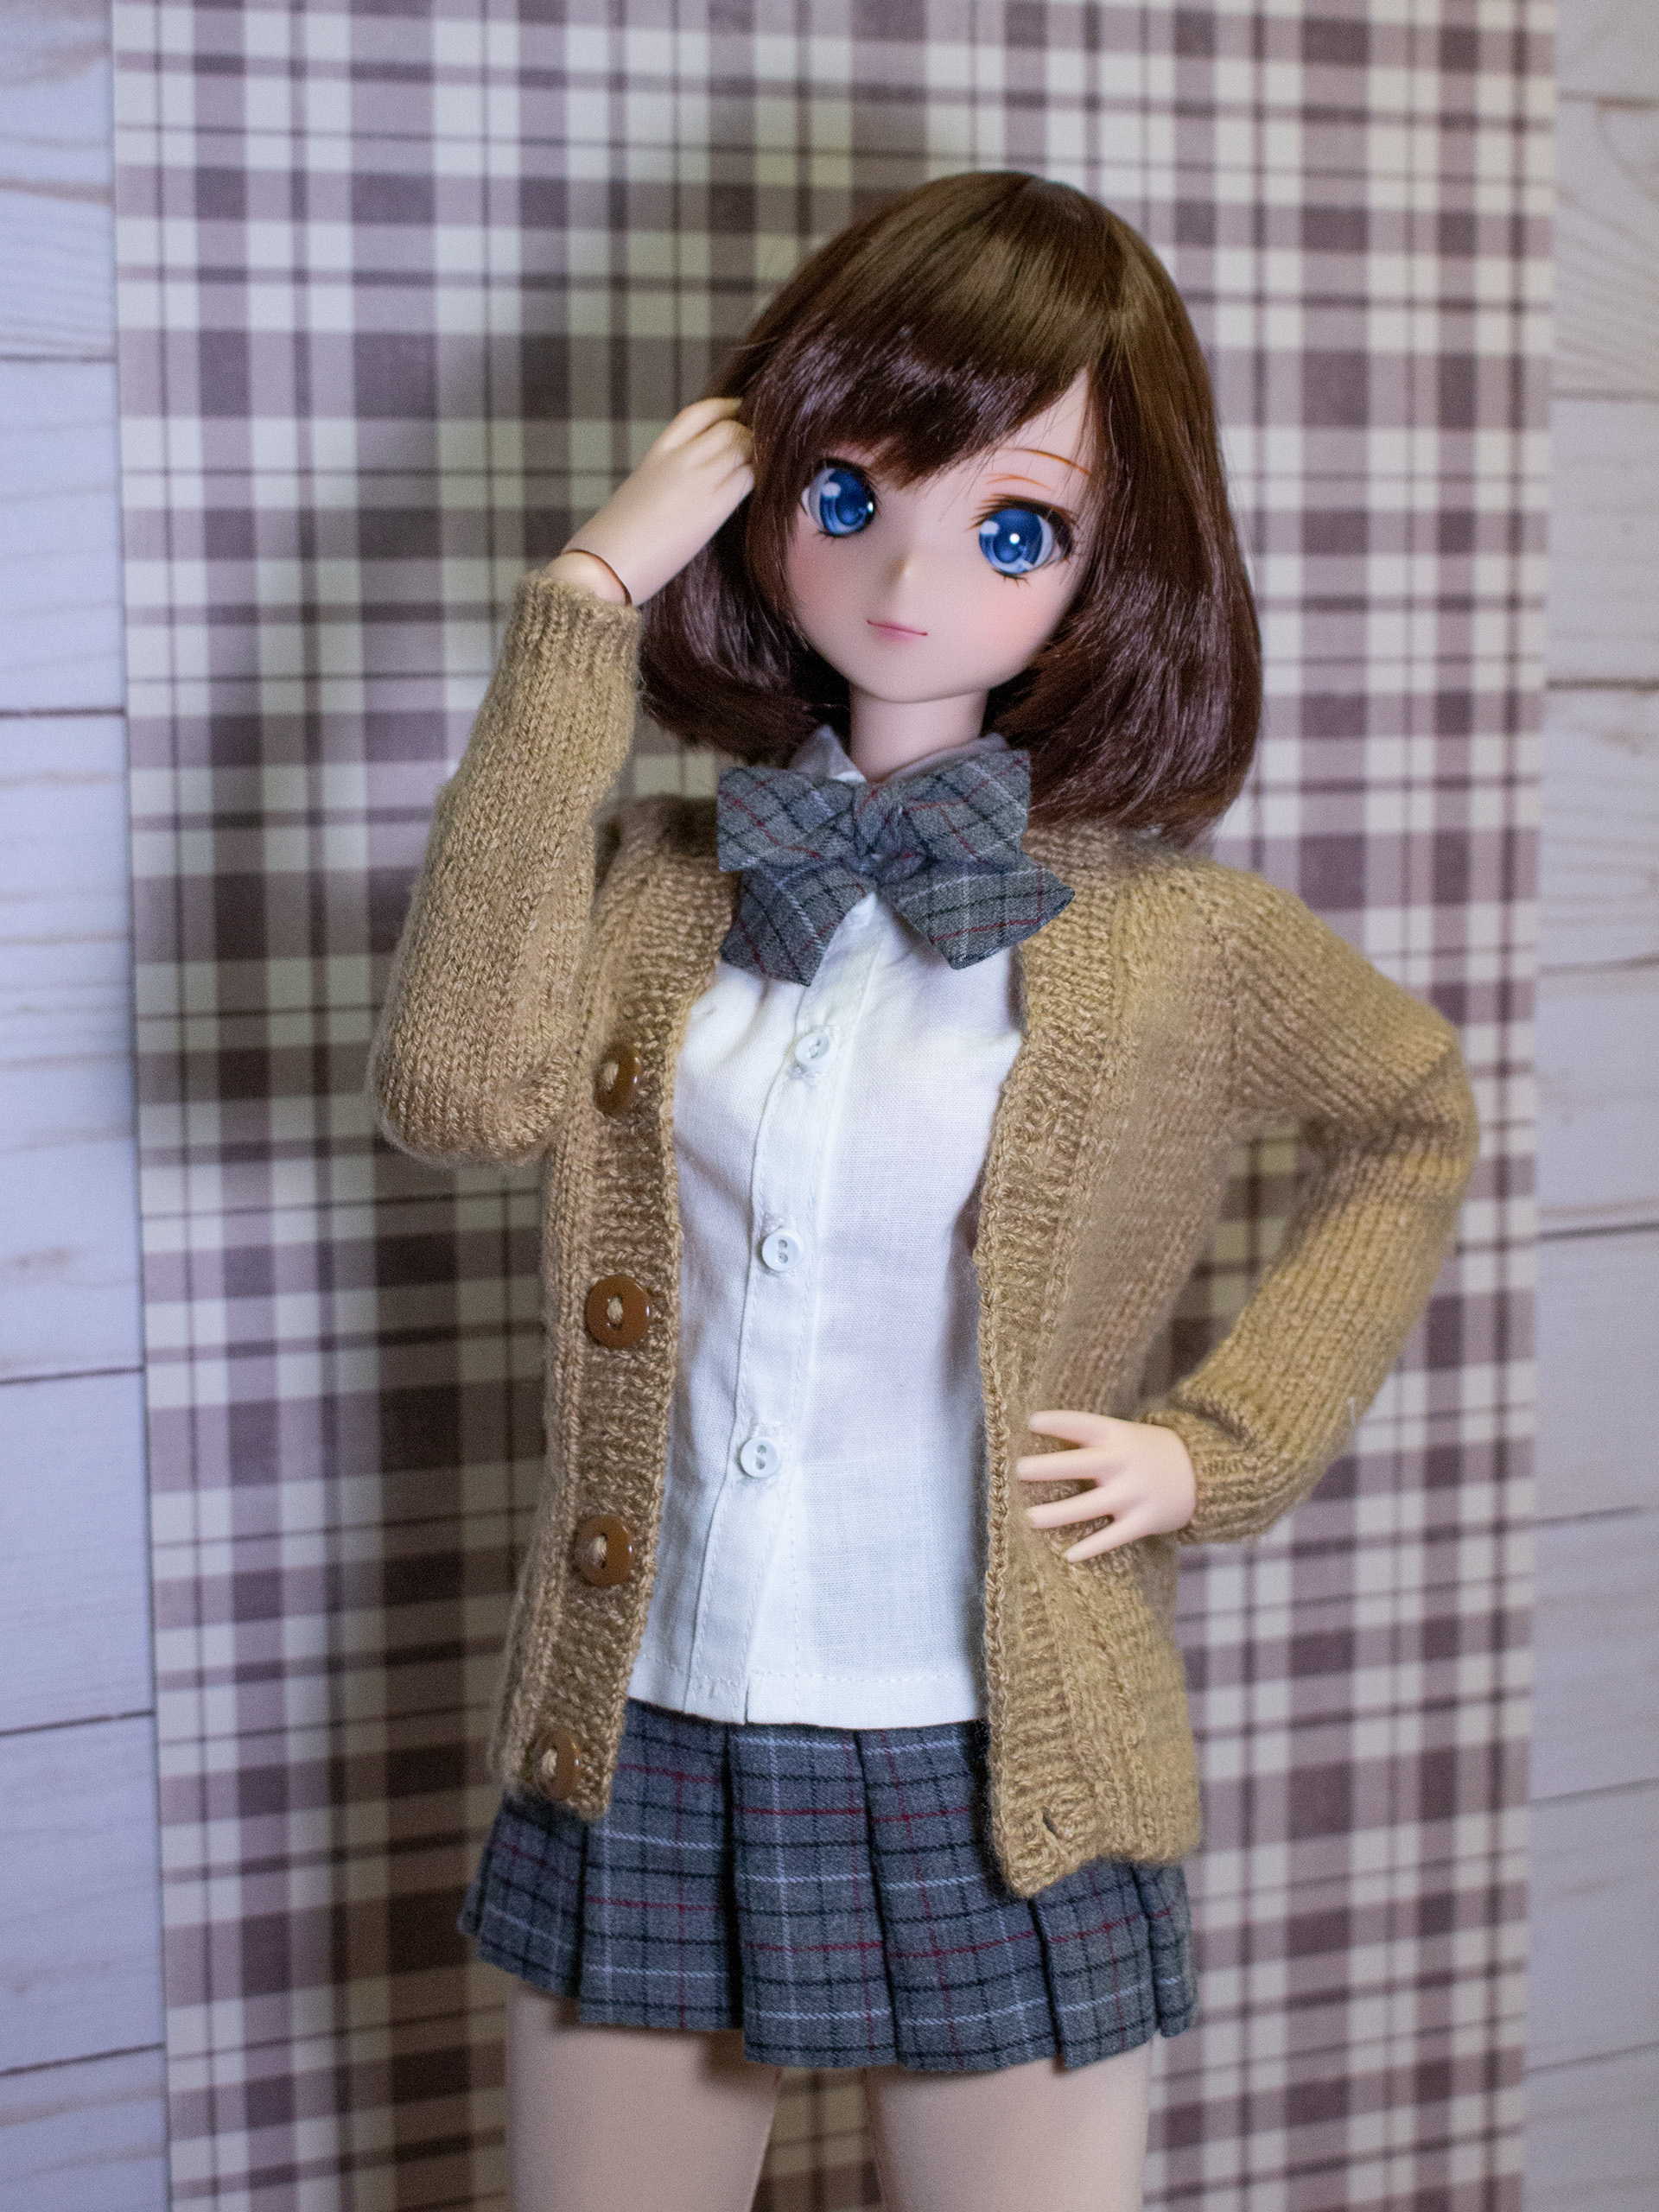
Diagram and explanation
I drew up this diagram to help me visualize what I was making.
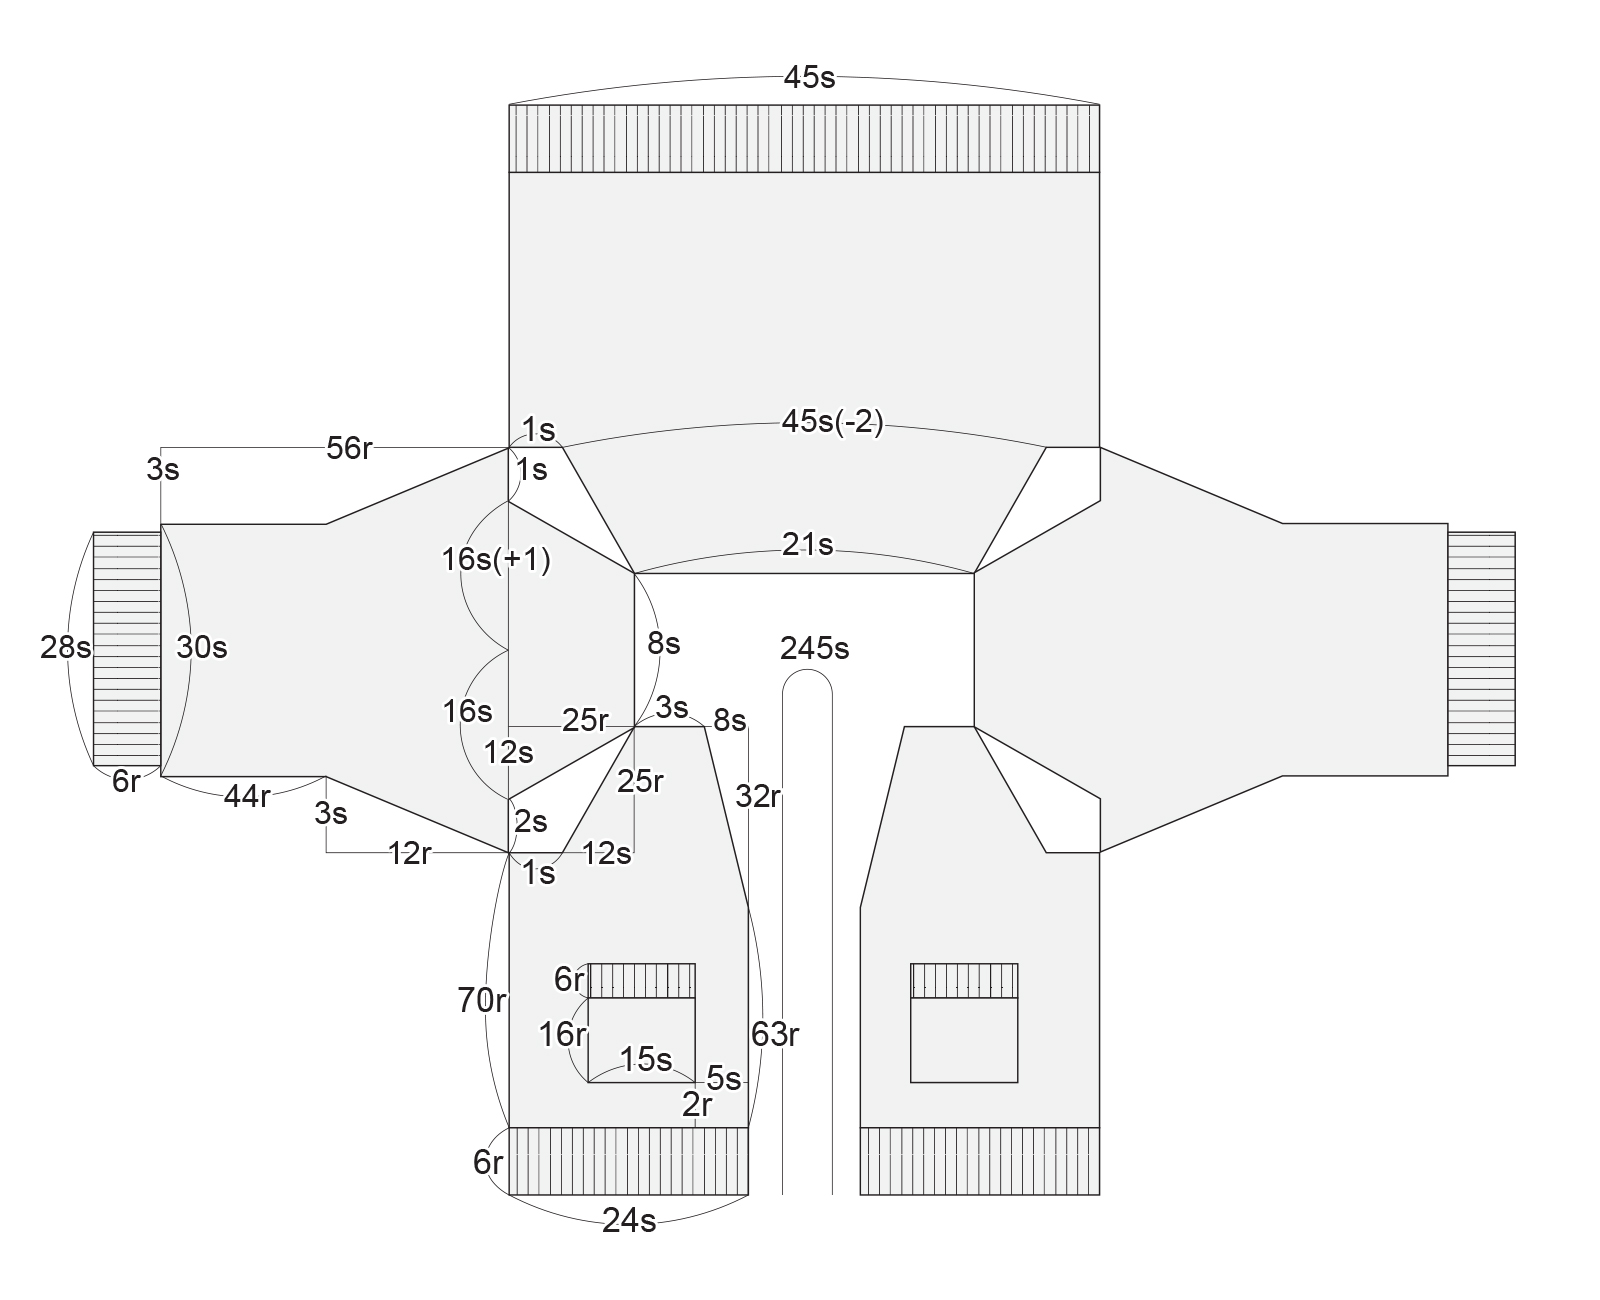
Knit cardigan diagram.
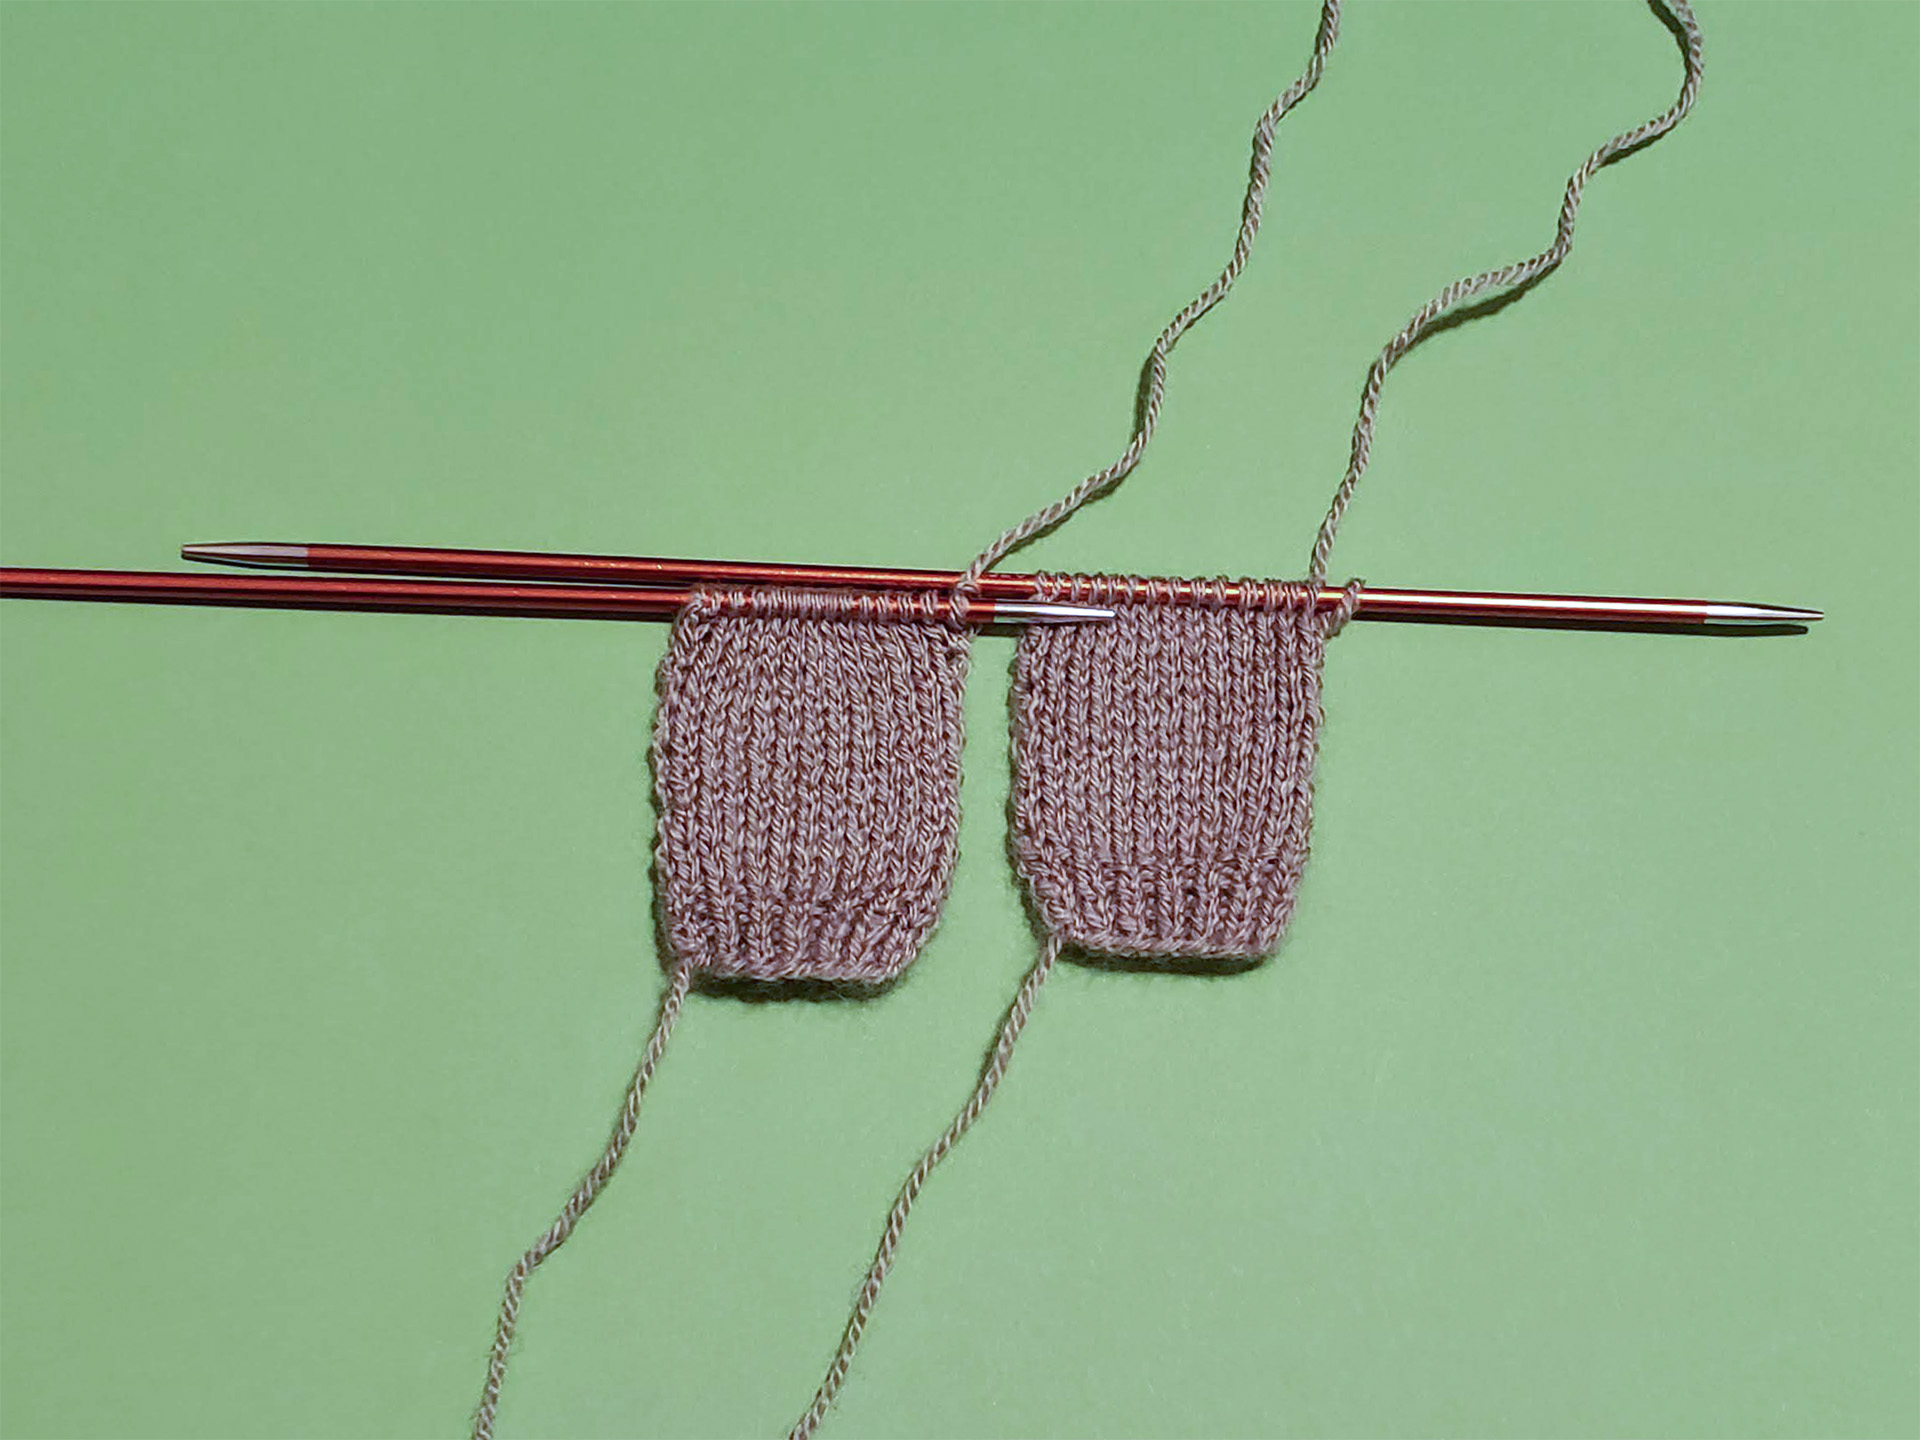
First I made 2 pockets, 15 stitches wide, 1 selvage stitch on each end. I made 6 rows of ribbing, starting on the wrong side. Then I knit 16 rows of stockinette. I saved the pockets on extra needles. You can also make the pockets later.
For the actual cardigan, I cast on 43 stitches with stitch markers between each section as shown in the diagram. One stitch on each end is selvage and I stated on a purl row. I used knit front back for the raglan increases on every knit row (every 2nd row, 25 rows total), at the start and end of each section (before and after the marker). At the center front (start and end of the row), I increased on every other knit row, between the second and third stitch (every 4th row, 32 rows total). To make it look neat, I used a left leaning increase at the start of the row and a right leaning increase at the end (I picked up the previous stitch).
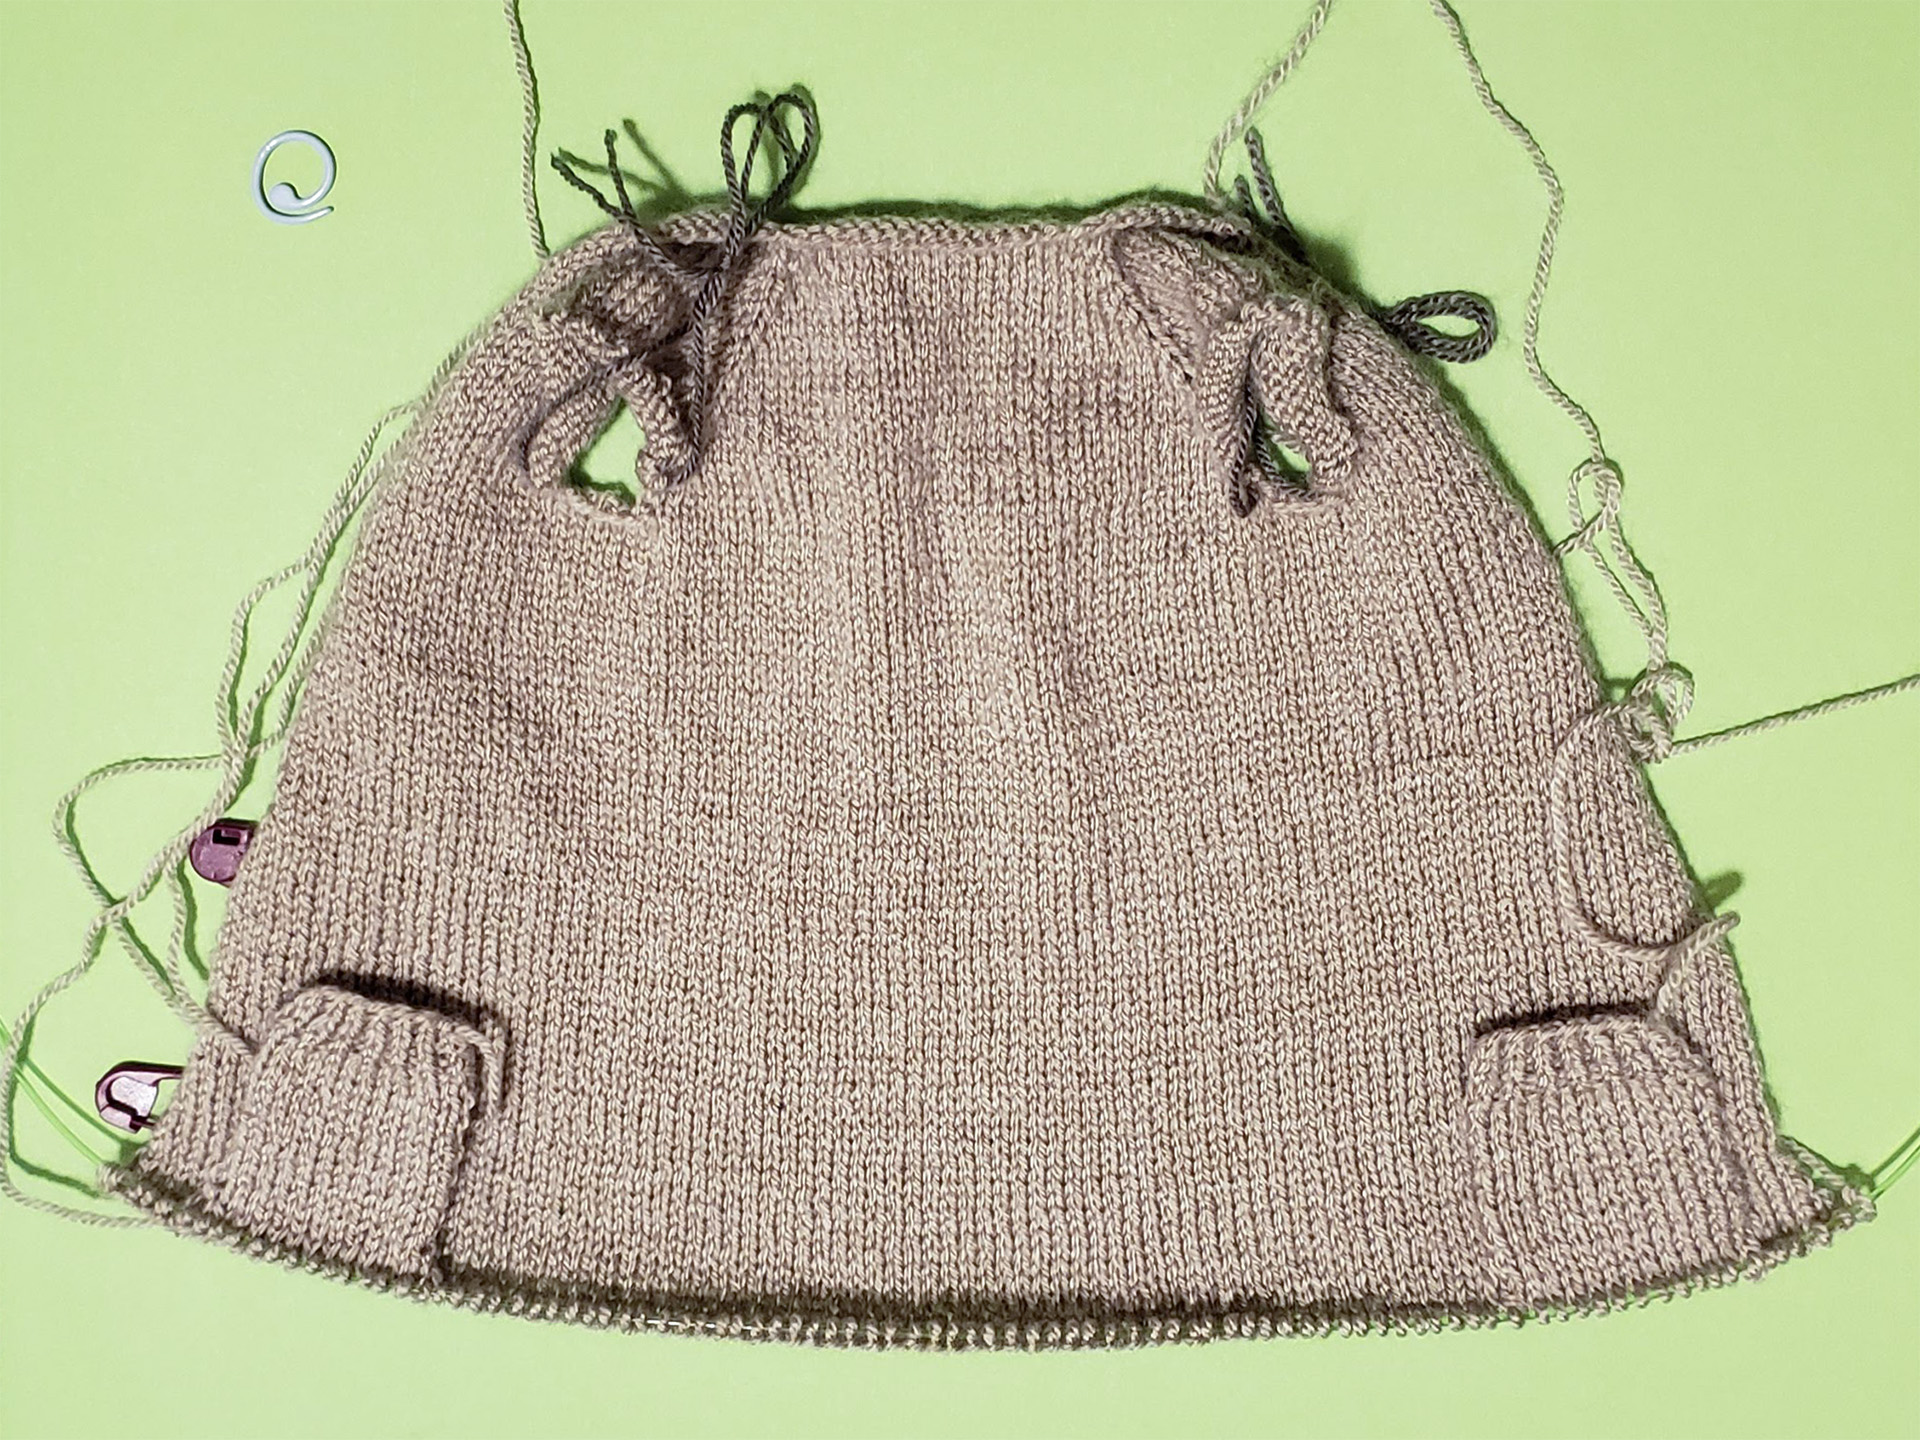
After the 25 raglan increase rows, I transferred the sleeve stitches onto some waste yarn (33 stitches) and attached the front and back pieces adding two new stitches where I took out the sleeves. Then I knit 63 rows of stockinette, you could however make it any length. At this point I attached the pockets by knitting them in, knitting the selvage stitch and the second stitch of the pocket together (same for the selvage at the end).
To start the ribbing, I first switched to smaller needles (2mm), knit one more row of stockinette, then switched to k1p1 ribbing. I did 6 rows of ribbing total finished off with a loose cast off.
I knit the sleeves in the round. To start off I transferred the saved stitches onto circular needles, 16 stitches on one side, 17 stitches on the other. To close up the hole in the armpit (where I made the extra 2 stitches), I picked up 3 more stitches, so that each needles had 18 stitches total.
To make the decreases on the sleeves I did 1 decrease 1 stitch before the end of a round and 1 stitch after start of next round at row: 2, 6 and 12. Once the decreases were done I knit another 55 rounds, or about 155mm (6in) measuring from the armpit. Same as with the body, I switched to smaller needles, knit one more row before starting the ribbing. To make the cuffs tighter I decreases twice in the first row of k1p1 ribbing. It doesn’t really matter where the decreases go, they won’t be noticeable. I ended with this sewn stretchy bind off.
I attached the sides of the pocket pieces using a ladder stitch.
To add a button band, I picked up stitches along the front edges and neck (about 245 stitches should be an odd number). I started with 2 knit stitches at the edge, then continued with k1p1 ribbing and finished with knit then purl for selvage. If you have an even number just drop a stitch or pick up and extra stitch before you get to the end. I made three rows of k1p1 ribbing, then one row with button holes, then three more rows and bound off.
Finally I sewed on some buttons and I had a finished cardigan! I have made a couple of these now in different lengths, and even tried adding a hood. Hope this inspires you to make your own.
Helpful Videos
Youtube is your best friend when learning (or remembering) how to knit and here are some videos that I found very helpful.
Knit Front Back Increase
A very easy increase. Doing two in a row creates a nice pattern with a column of stitches in the middle.
Stretchy Sewn Bind Off for 1x1 Ribbing
A stretchy bind off you can use for the sleeve cuffs. It may seem complicated at first, but is easy once you get the hang of it.
One Row Button Hole
A good explanation of how to make a one row button hole by casting off stitches, then casting on new ones.