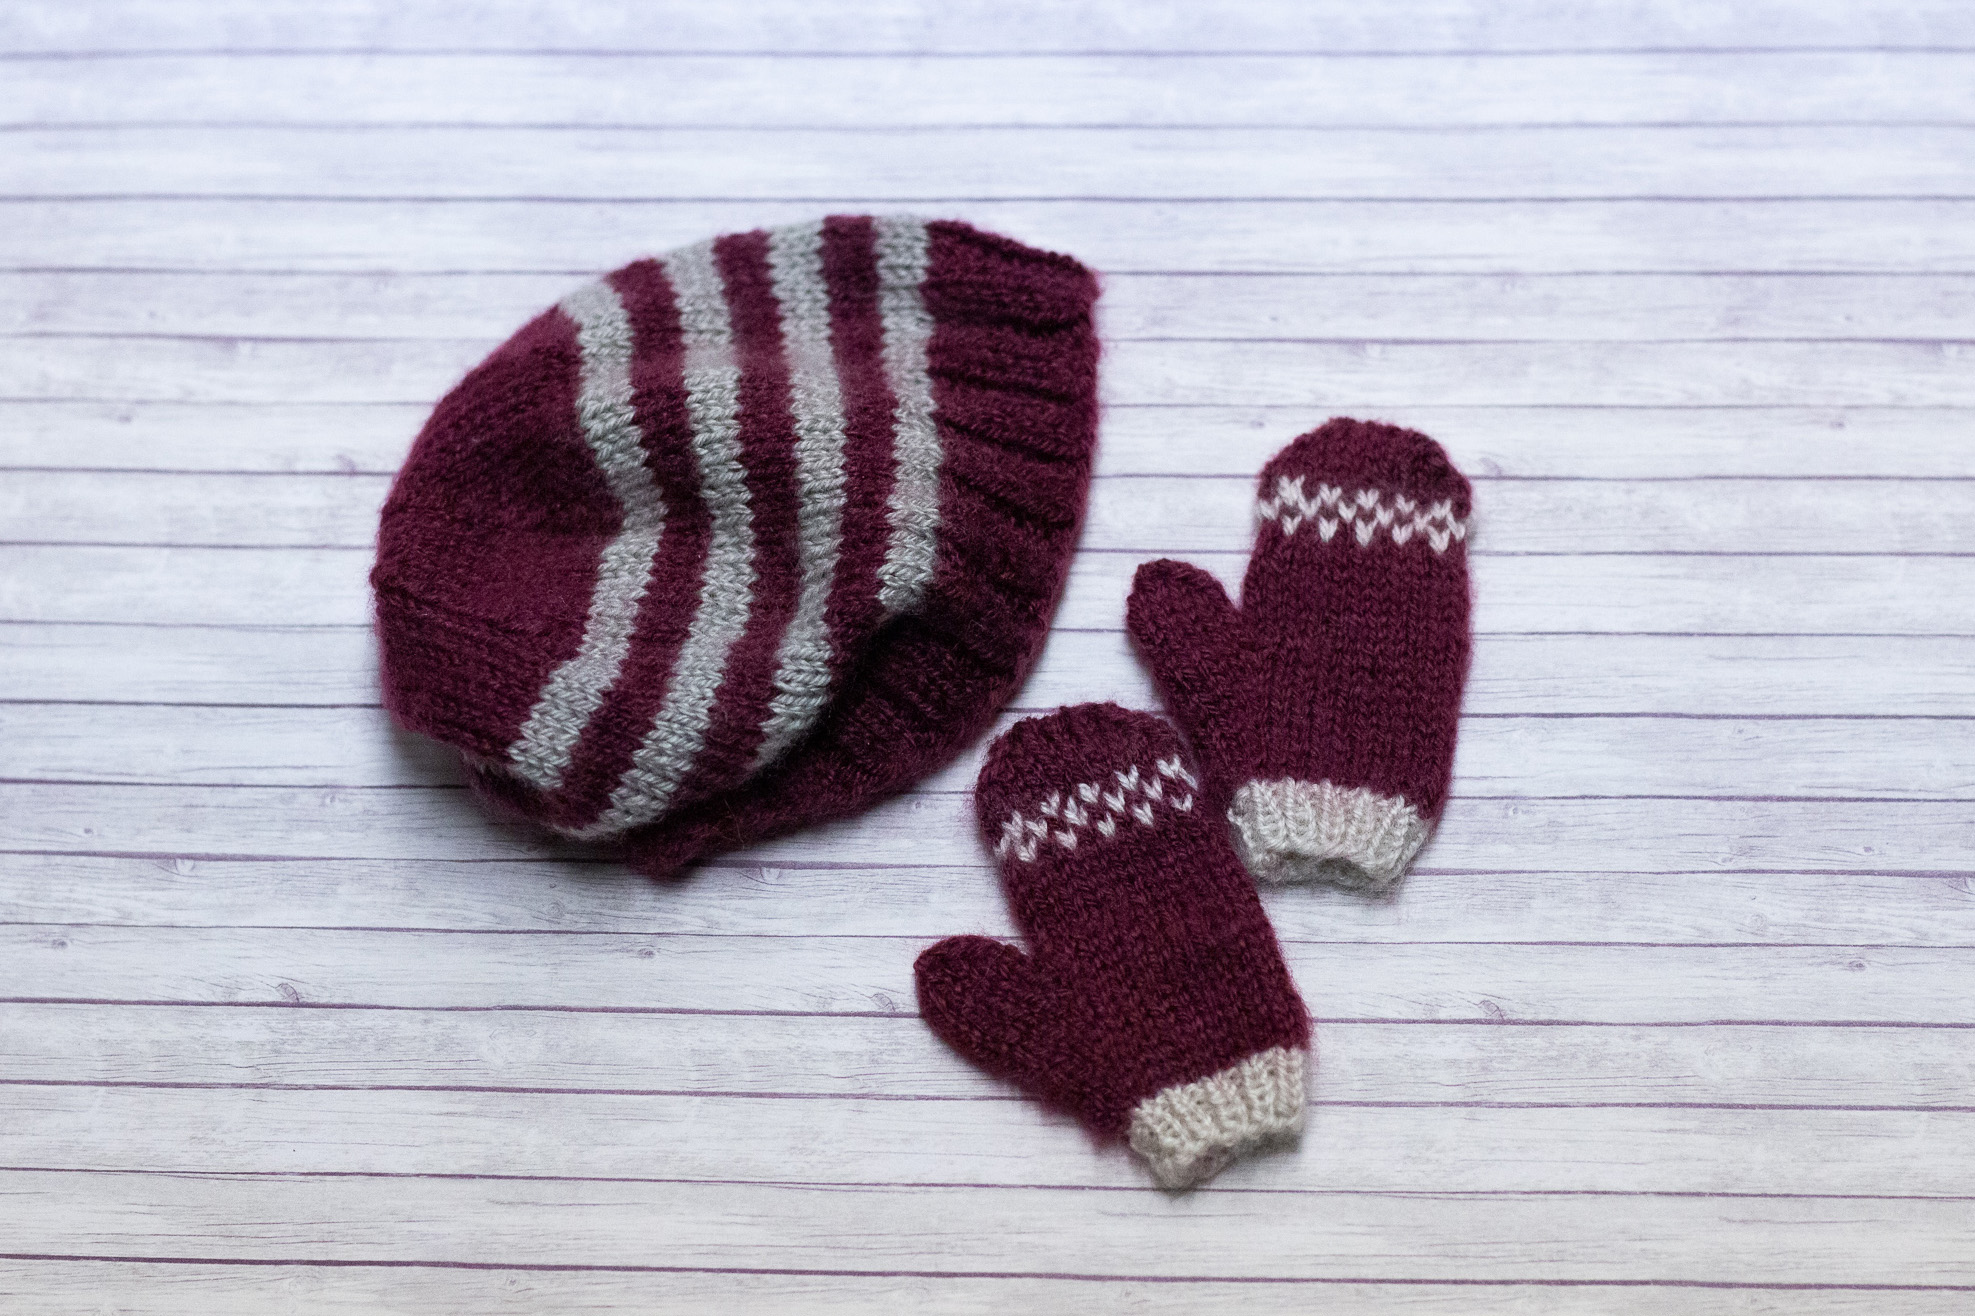
Smart Doll Boy's Knit Mittens
Smart Doll ·Warm and cozy, this version of the Smart Doll Mittens is made to fit the default hands of the Smart Doll boys. They are knit in the round, but you could also knit them flat. The pattern includes instructions to knit them in a solid color, but you can add stripes or other patterns. Keep reading to find out how I designed the pattern, or skip right to the instructions and make your own!

How I Made this Pattern
To make the boy’s version of my Smart Doll Mittens knitting pattern, I stated with my girl’s mittens. These were of course, too small for the larger boys hands. I needed to start with more stitches, so the cuffs could fit over the hands. The first part of the hand needed to be longer, because the thumb starts farther up. The boy’s thumb and fingers are also longer and wider.
I could have tried to figure this out by measuring, but it was just as easy to guess and adjust as I went. I ended up adding 4 stitches to the start, 2 stitches and 2 rows to the thumb, and 4 rows to the overall length. I decided to try a different technique to finish the fingers too. Instead of decreasing in regular intervals, like the Smart Doll Girl’s Mittens, I decreased only at the sides of the fingers for three rows, then I sewed up the remaining stitches with a Kitchener stitch. If you are not up for a challenge, you can adjust the pattern based on the girl’s mittens to make it easier to finish.
Knitting Pattern
Needles: 2mm stainless steel circular needles for the cuff, 2.75mm stainless steel circular needles for the rest.
Gage: 36 stitches, 46 rows -> 10 x 10 cm
Yarn: Super Fine (1) (Woolike)
Abbreviations:
- k1 - Knit one stitch or however many the number says.
- p1 - Purl one stitch or however many the number says
- RLI - Right leaning increase, that adds an extra stitch to the right of the next stitch. I use the “grandmother” method (or pickup a stitch from the previous row and knit that). You can also use make one right, or your own favorite increase. Just make sure that at the end you have the expected amount of stitches : )
- LLI - Left leaning increase, that adds a new stitch to the left of the stitch you just knit. Same as above, use what works for you.
- LLD - Left leaning decrease, knitting two stitches together with the first stitch ending up on top. For my way of knitting this is the easiest decrease of just knitting two stitches together.
Cuff
Cast on 24 in the round (2mm needles)
RND 1-6: k1 p1 ribbing.
Hand
(Switch needles 2.75mm)
RND 7-9: k24
RND 10: k1, RLI, k20, LLI, k1 (26)
RND 11-13: k26
RND 14: k2, RLI, k20, LLI, k2 (28)
RND 15-16: k28
RND 17: k3, RLI, k20, LLI, k3 (30)
RND 18: k 26, hold 4 for thumb
RND 19: hold 4 more for thumb, k 22
RND 20-29: k22
RND 30: LLD, k7, RLD, LLD, k7, RLD (18)
RND 31: LLD, k5, RLD, LLD, k5, RLD (14)
RND 32: LLD, k3, RLD, LLD, k3, RLD (10)
Finish with Kitchener Stitch and weave in the ends.
Thumb
Pick up 2 stitches at gap.
RND 1-5: k10
RND 6: LLD, k3, LLD k3 (8)
RND 7: LLD * 4 (4)
Cut yarn, thread the tail through the remaining stitches and pull to close. Weave in the ends.
Helpful Videos
Here are some videos from YouTube that have helped me.
Kitchener Stitch
This can seem intimidating at first, but is not so hard if you follow the instructions.
Picking up Stitches
When starting the thumb you need to “pick up” two stitches. I had trouble understanding what this meant at first, so here is a video I found that explains it.
