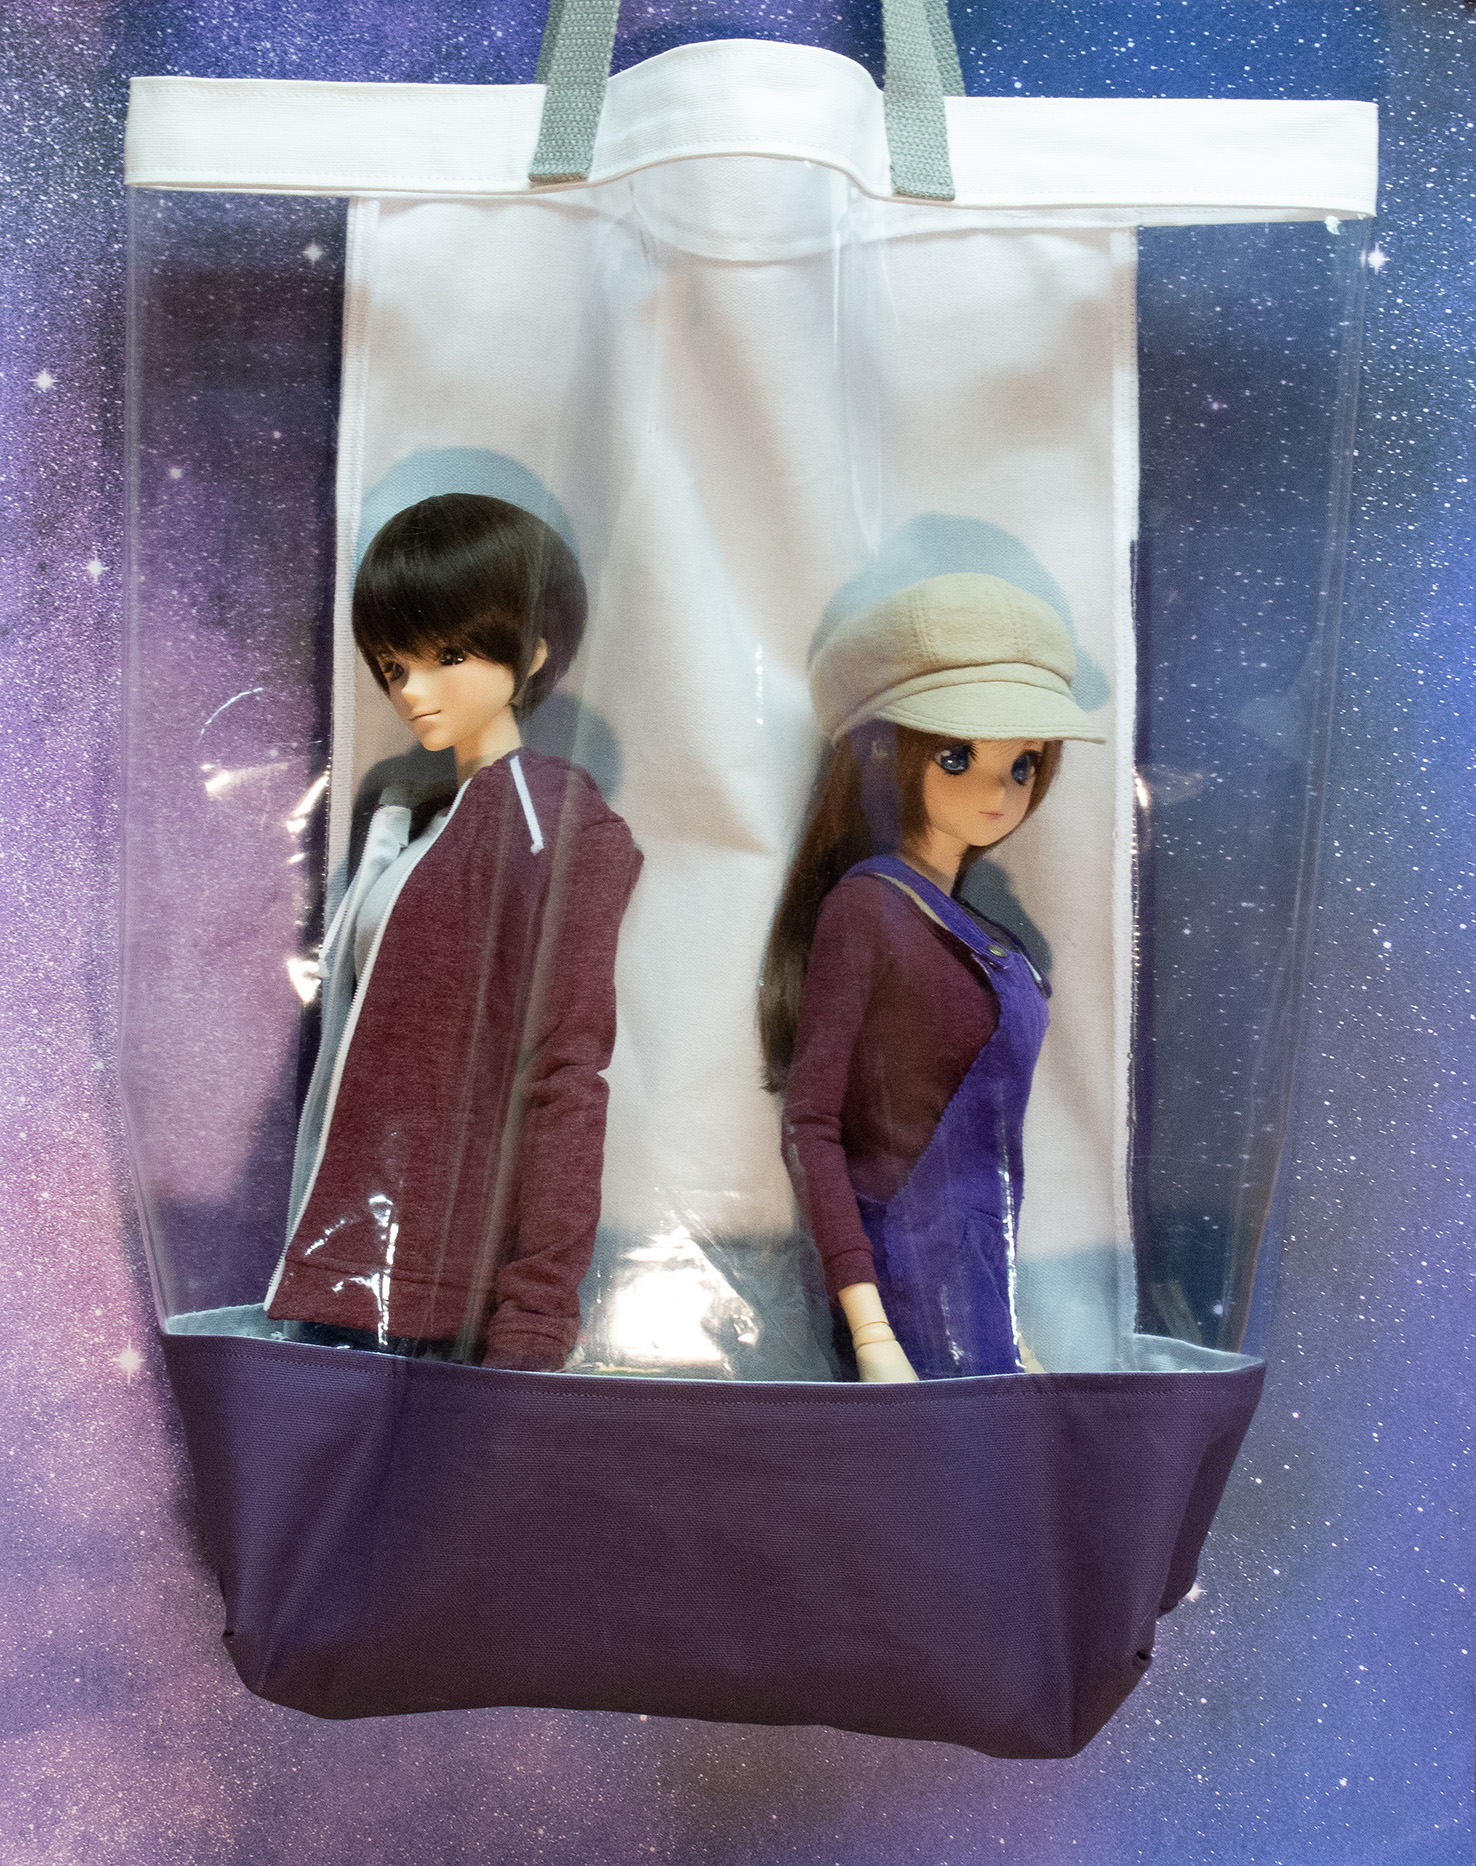
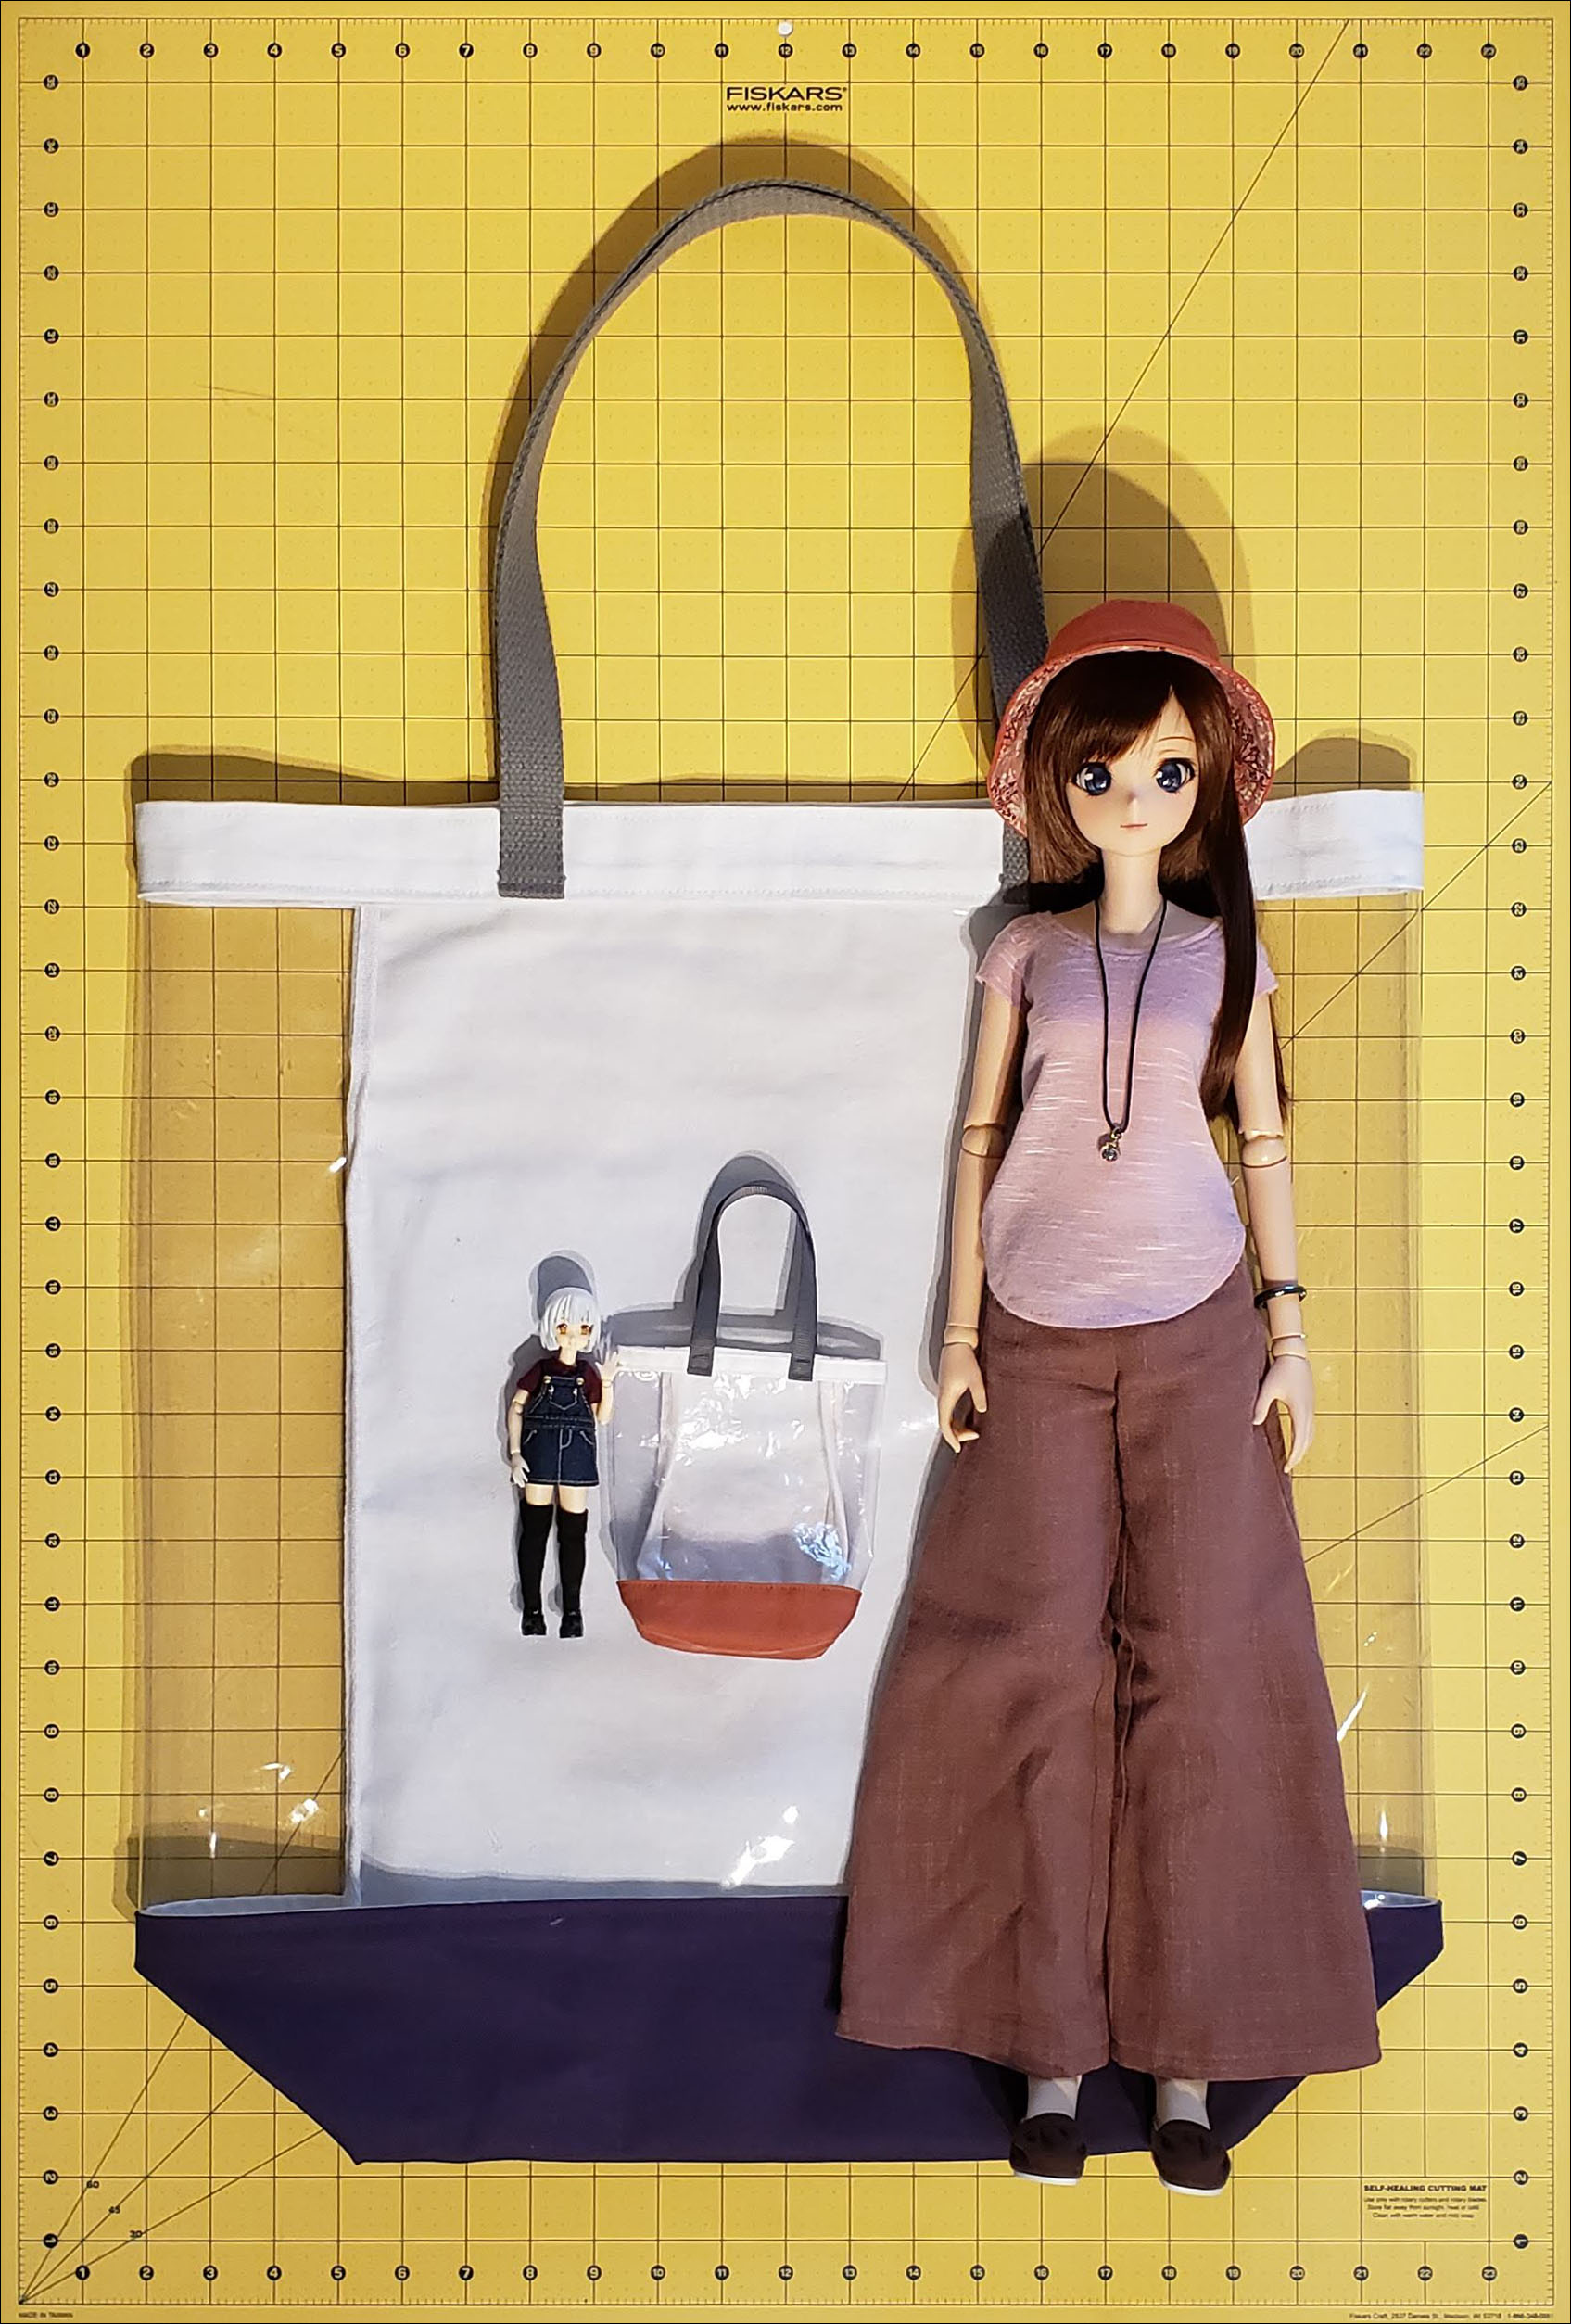
Smart Doll Window Bag
Smart Doll ·This bag is large enough for 2 kneeling Smart Dolls, with a transparent front and side to show them off. With a white lining and finished seam, the risk of staining from colored fabric and thread is minimized. You can even make a mini version, so your Smart Doll can carry their own dolls with them. Try out the pattern and show off your Smart Dolls everywhere you go!

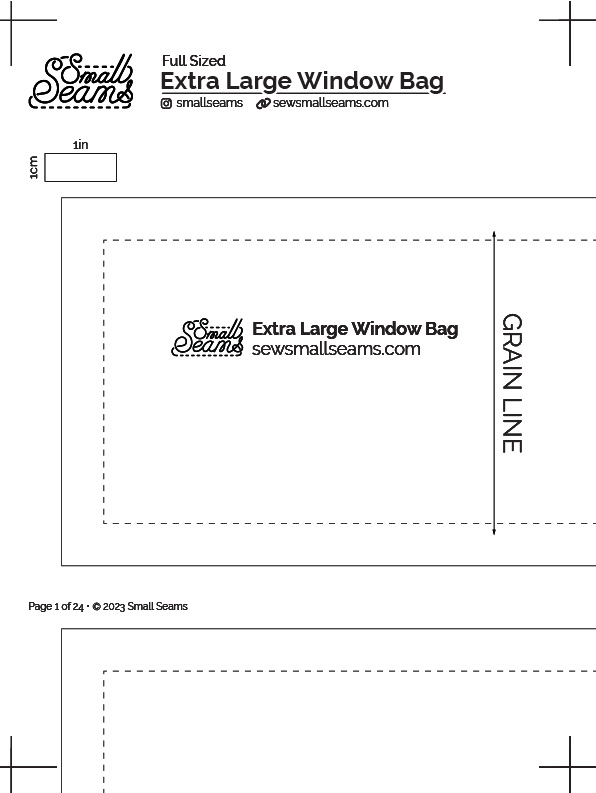
Download the Extra Large Bag Pattern
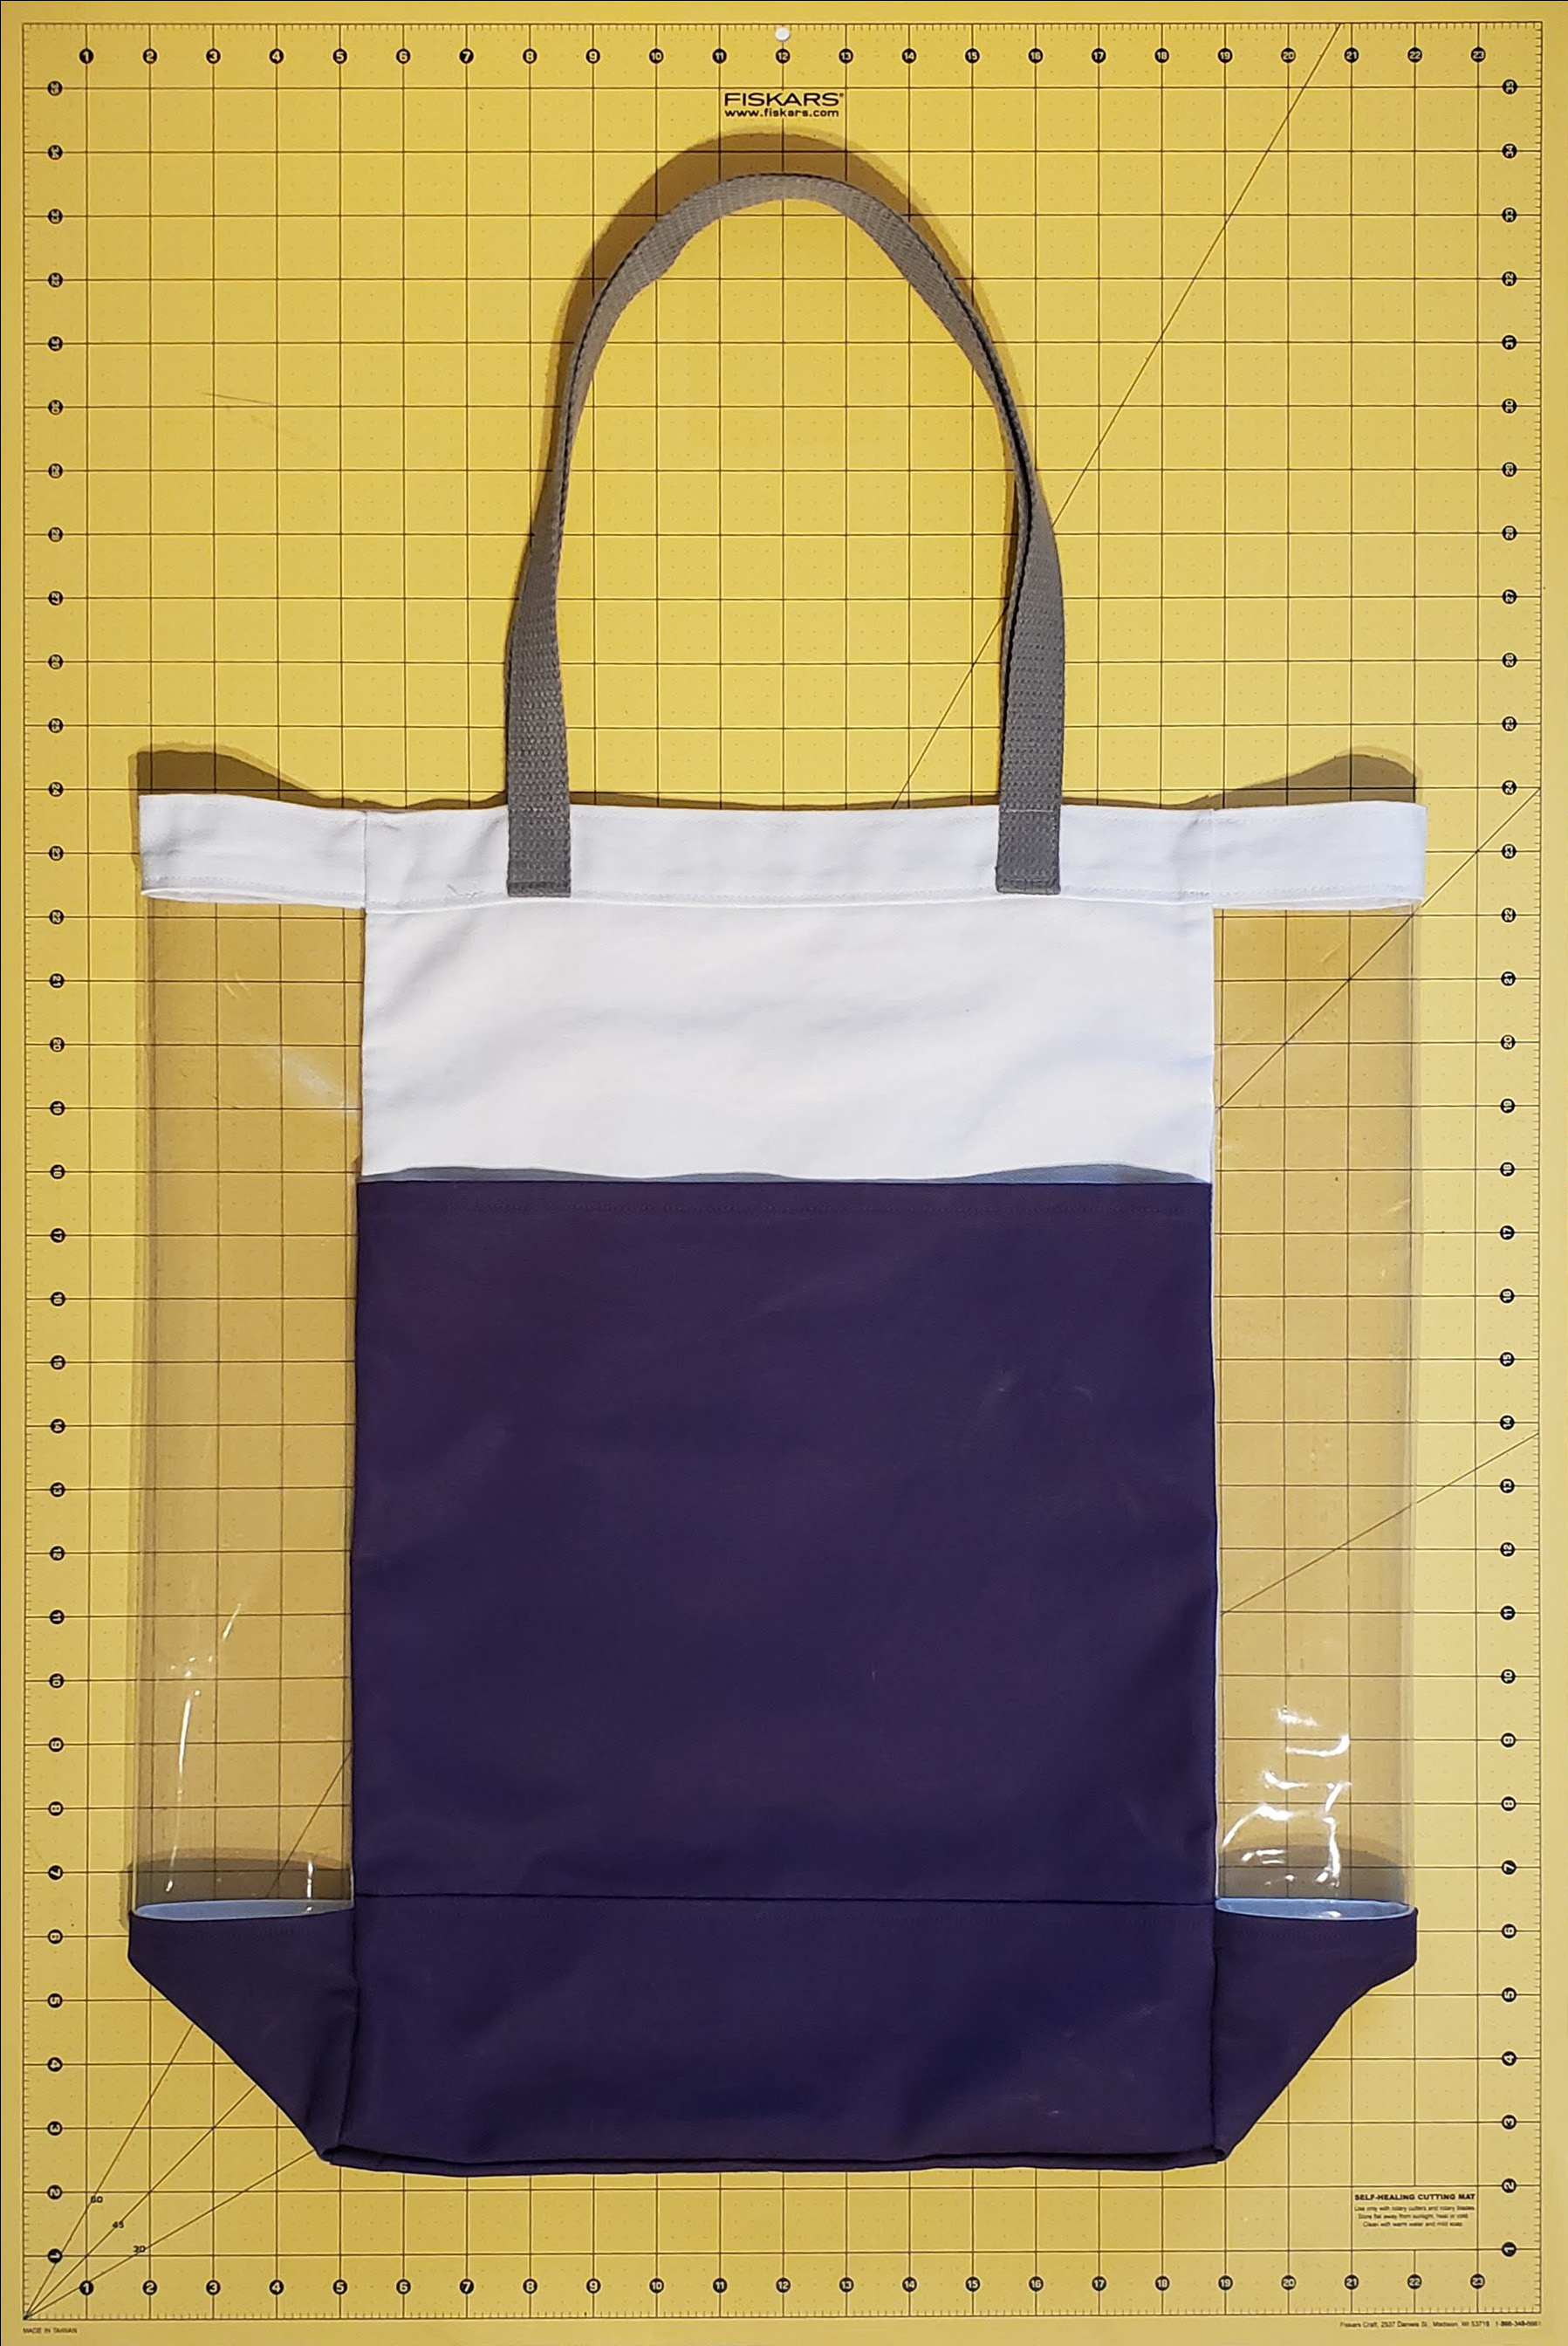
This bag fits 2 kneeling Smart Dolls. Because the bag is so large, this pattern has multiple pages. Check out this post on printing multi-page patterns for instructions on assembling the pages.
Do use this free pattern to make items for personal use, items for sale and new free patterns. Do not sell this free pattern or use it to make new patterns for sale. If you need help printing, make sure to read my digital pattern printing tips.
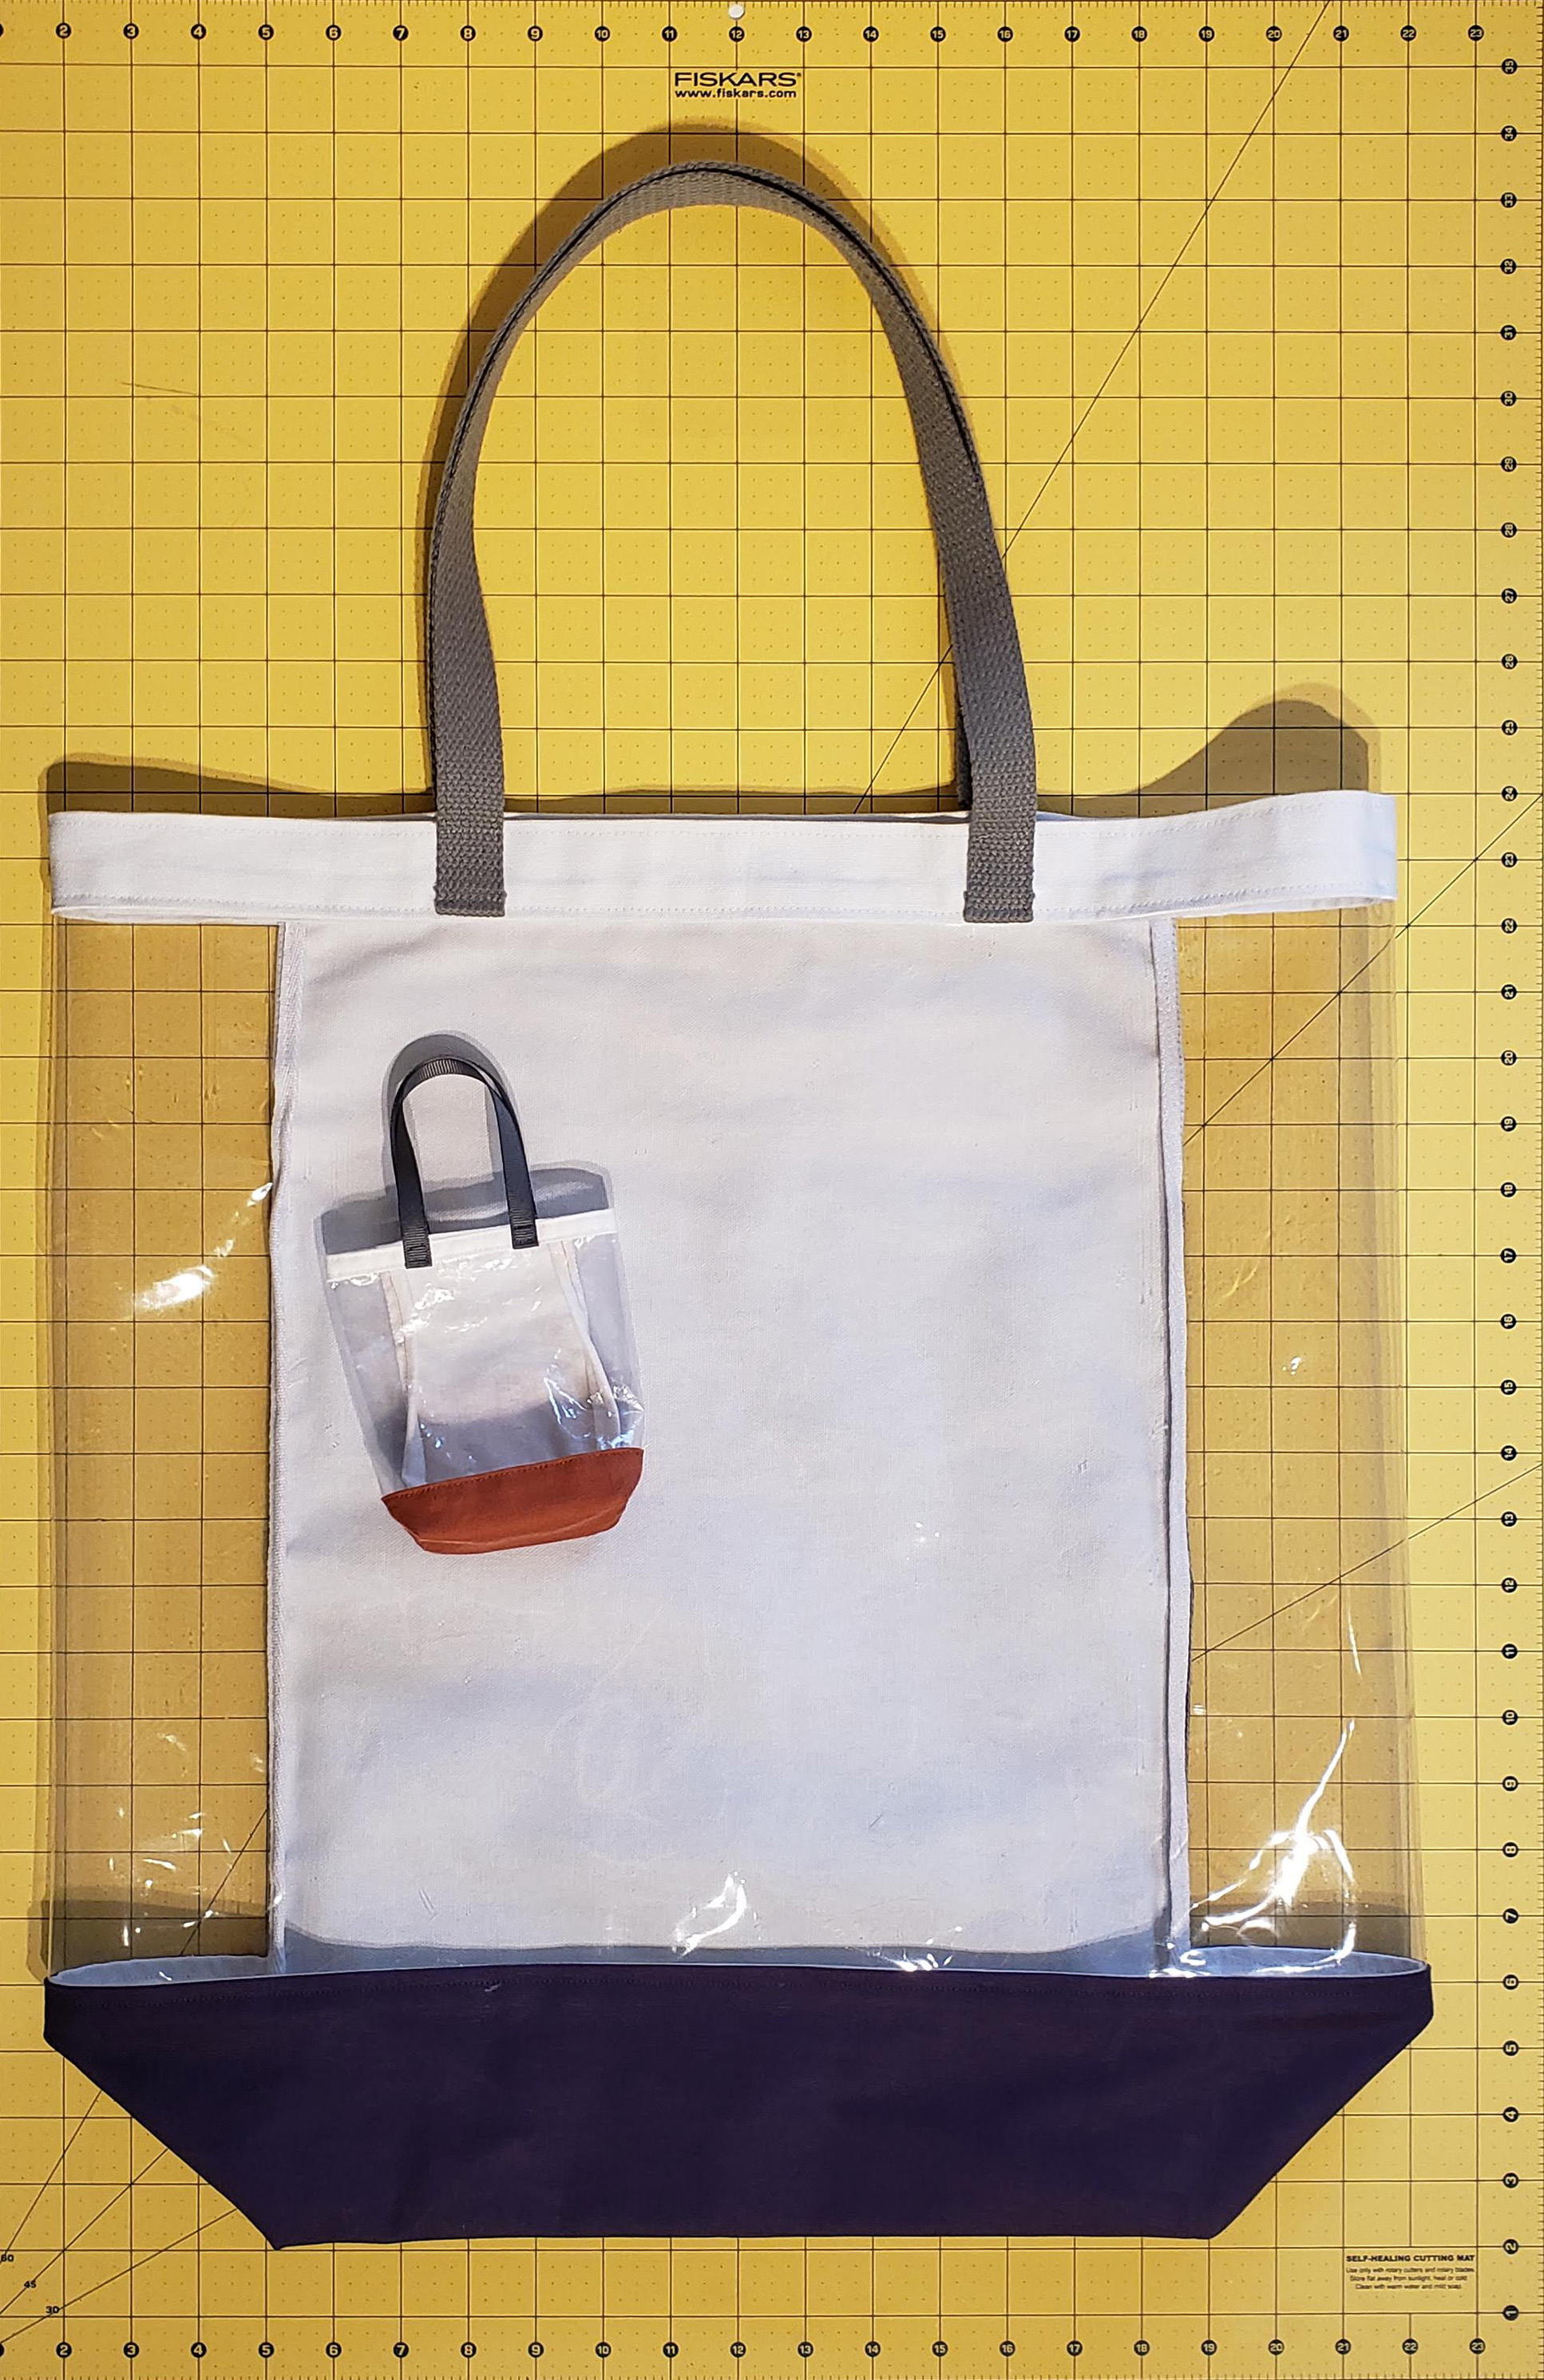
Download the Mini Bag Pattern
This tiny bag is a Smart Doll scale version of the big bag. It can fit two kneeling Azone Picco Neemo dolls or one Nendoroid Doll sitting down.
Do use this free pattern to make items for personal use, items for sale and new free patterns. Do not sell this free pattern or use it to make new patterns for sale. If you need help printing, make sure to read my digital pattern printing tips.

How I Made the Pattern
This pattern is inspired by Japanese designer Yuriqlo on Twitter. To draft the bag, I first lined up my 2 Smart Dolls in a kneeling position and measured around them. I used those measurements to draw rectangles representing the front, back, sides and bottom. Then I divided those up to make the different sections. To test the pattern I made a mini version, by scaling it down and adding a 1/4” (6mm) seam allowance. Once I knew the mini pattern worked, I finished up the final pattern by adding a 5/8” (15mm) seam allowance.
Materials
Stiffer materials work well for this bag, because they help it hold it’s shape. I used heavy cotton duck canvas (300 gm2 / 8.85 oz sq yd) and 16 gauge clear vinyl from Joann Fabrics. I used 54 inches (138 cm) of 1 inch (2.5 cm) cotton webbing for the straps, but you can make your own straps from the same canvas or other fabric. I used 51 inches (130 cm) of twill tape to finish the inner seam, also from Joann’s.
Pattern Pieces
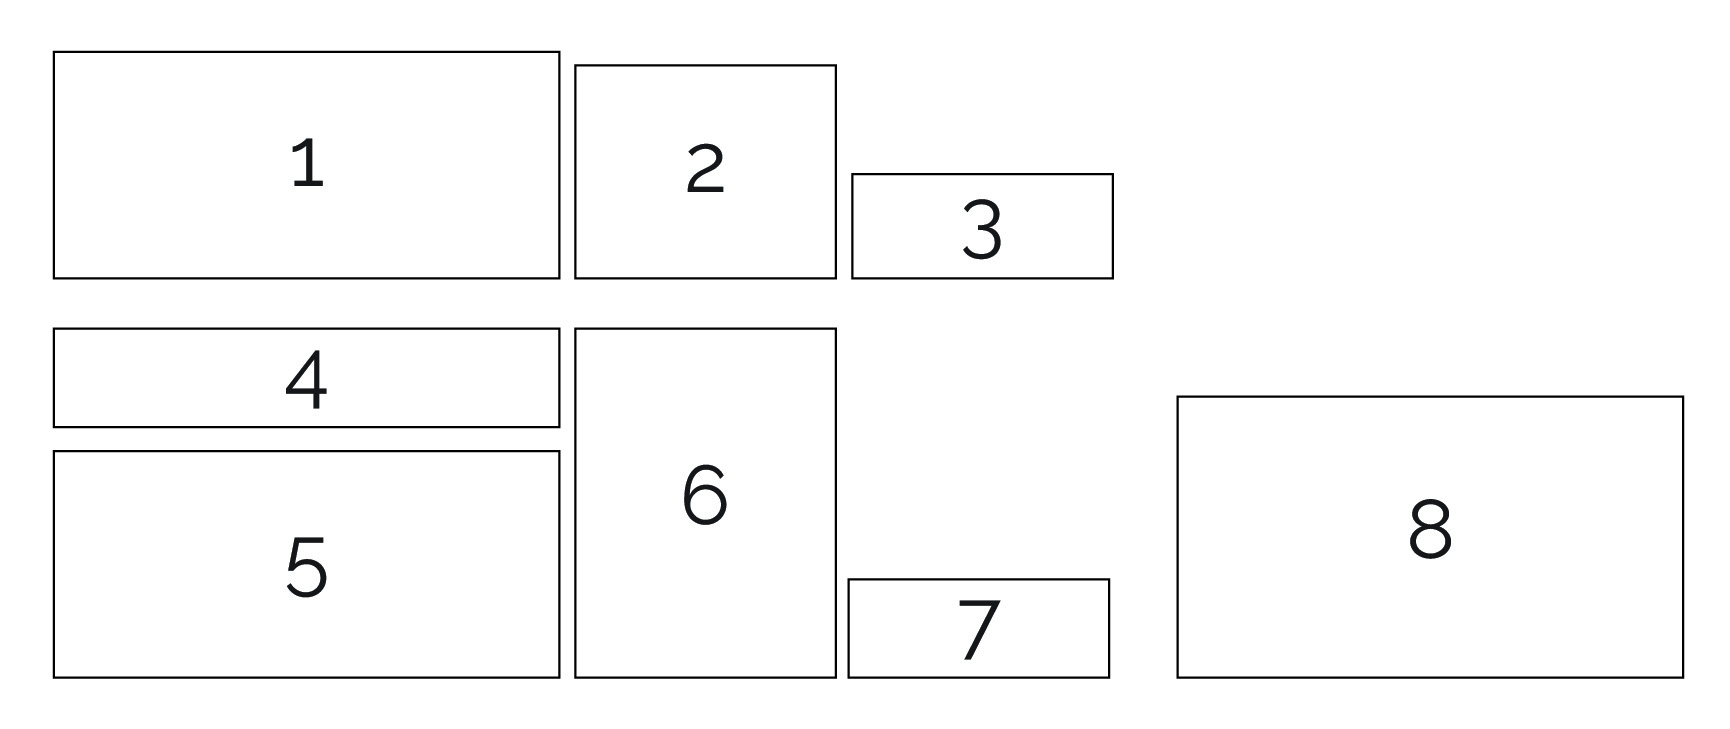
These are the pieces:
- Front Base - colored canvas
- Pocket - colored or white canvas
- Back Base - colored canvas
- Front Top Edge - white canvas
- Front Base Lining - white canvas
- Back Panel - white canvas
- Back Top Edge - white canvas
- Front Window - clear vinyl
- Straps - 2 x 27” (69cm) of 1” (2.5cm) cotton webbing
- Biding - 51” (130cm) of white twill tape or bias binding
Basic Instructions
- Fold the two top edge pieces (Back Top Edge and Front Top Edge), in half along the long sides and press.
- Sew Back Top Edge to Back Panel, right side to right side with 5/8” (15mm) seam allowance.
- Sew Front Top Edge to Front Panel (clear vinyl), right sides facing with a 5/8” (15mm) seam allowance.
- Line up the top of the Back Base to the bottom of the Pocket, right sides facing and sew with a 5/8” (15mm) seam allowance. Finish the seam fold it down towards the Back Base and topstitch on the Back Base piece.
- Align the Back Panel and Pocket with Back Base along the bottom edge and tack together.
- Match up the gray lines on each side of the Front Base, right sides facing and sew along the lines. Cut off the excess, finish seams. Repeat for the Back Base Lining.
- Stack the Front Window and Base pieces into a sandwich: Line up the top edge of the Front Base with the bottom edge of the Front Window right sides facing. Line up right side of Front Base Lining with bottom edge of wrong side of Front Window. Sew with 5/8” (15mm) seam.
- Flip the inside and outside pieces down and topstitch.
- Align the front and back at the top edges, bottom edges and corners, sew with 5/8” (15mm) seam allowance. Trim the seam and bind it.
- Fold the Top Edge over along the fold line. Fold the seam allowance under 5/8” (15mm), then line up with the seam and topstitch at the top and bottom edges.
- Fold the ends of the Straps 1/4” (7mm), align the them to the the markings and sew them on.
Sewing Tips
- If you have a hard time keeping the Base pieces an the Front Window vinyl sandwiched together, you can first sew one layer to the vinyl with a smaller seam allowance. Then sew the third layer on with the 15mm (5/8”) seam allowance.
- When sewing the back and front together, sew with the back piece on the bottom, down along one of the long sides and stop 15mm from the edge. Leave the needle down and lift the presser foot, then snip into the seam allowance on the front piece along the seam up to the needle. Turn the bag 90deg, line up the pieces and sew along the short side. Stop 15mm from the edge and repeat the previous steps. This should make it easy to turn at the corners when sewing.
- Use a piece of masking tape to mark the right side of the vinyl.
- If you are having trouble turning the vinyl, try making it softer by warming it up with a hairdryer.
- Try sewing the mini version as a test first. You can use some scrap fabric instead of canvas or vinyl and you can use ribbon of the straps.
- You can make your own straps by folding strips of canvas. Cut two strips of canvas that are 27 x 4” (69 x 10cm). Fold them in half lengthwise and press. Fold the two long edges toward the fold and press. Topstitch along the edges to finish. You will have strips that are 4 layers thick with the raw edges enclosed inside.
- Finish the seams with twill tape or bias binding. Use white or a light color and matching light colored thread, to avoid the risk of staining.
- You only need to bind the seams just up to the Top Edge pieces. The seams at the top will be enclosed in the Top Edge of the bag. You can clip in to the seam at the pressed fold line and fold the seam allowance in the opposite direction to minimize bulk.